In 2025, setting up a website should take minutes, not weeks.
Most creators, freelancers, small business owners, and professionals delay going live because of:
- Hosting confusion
- Technical setup
- Coding fear
- Too many decisions
That’s exactly why BuyItUp.in exists — to help you launch your site fast, without dealing with tech headaches.
In this step-by-step guide, you’ll learn how to set up your site on BuyItUp.in from start to finish.
What You Need Before You Start
Good news — almost nothing.
You don’t need:
- Coding knowledge
- Hosting setup
- Domain configuration
- Technical experience
You only need:
- A basic idea of what you want to show
- 10–15 minutes of time
Step 1: Visit BuyItUp.in
Go to 👉 https://buyitup.in/
This is where your digital journey starts. BuyItUp is designed specifically for:
- Creators
- Freelancers
- Professionals
- Small businesses
- Affiliate marketers
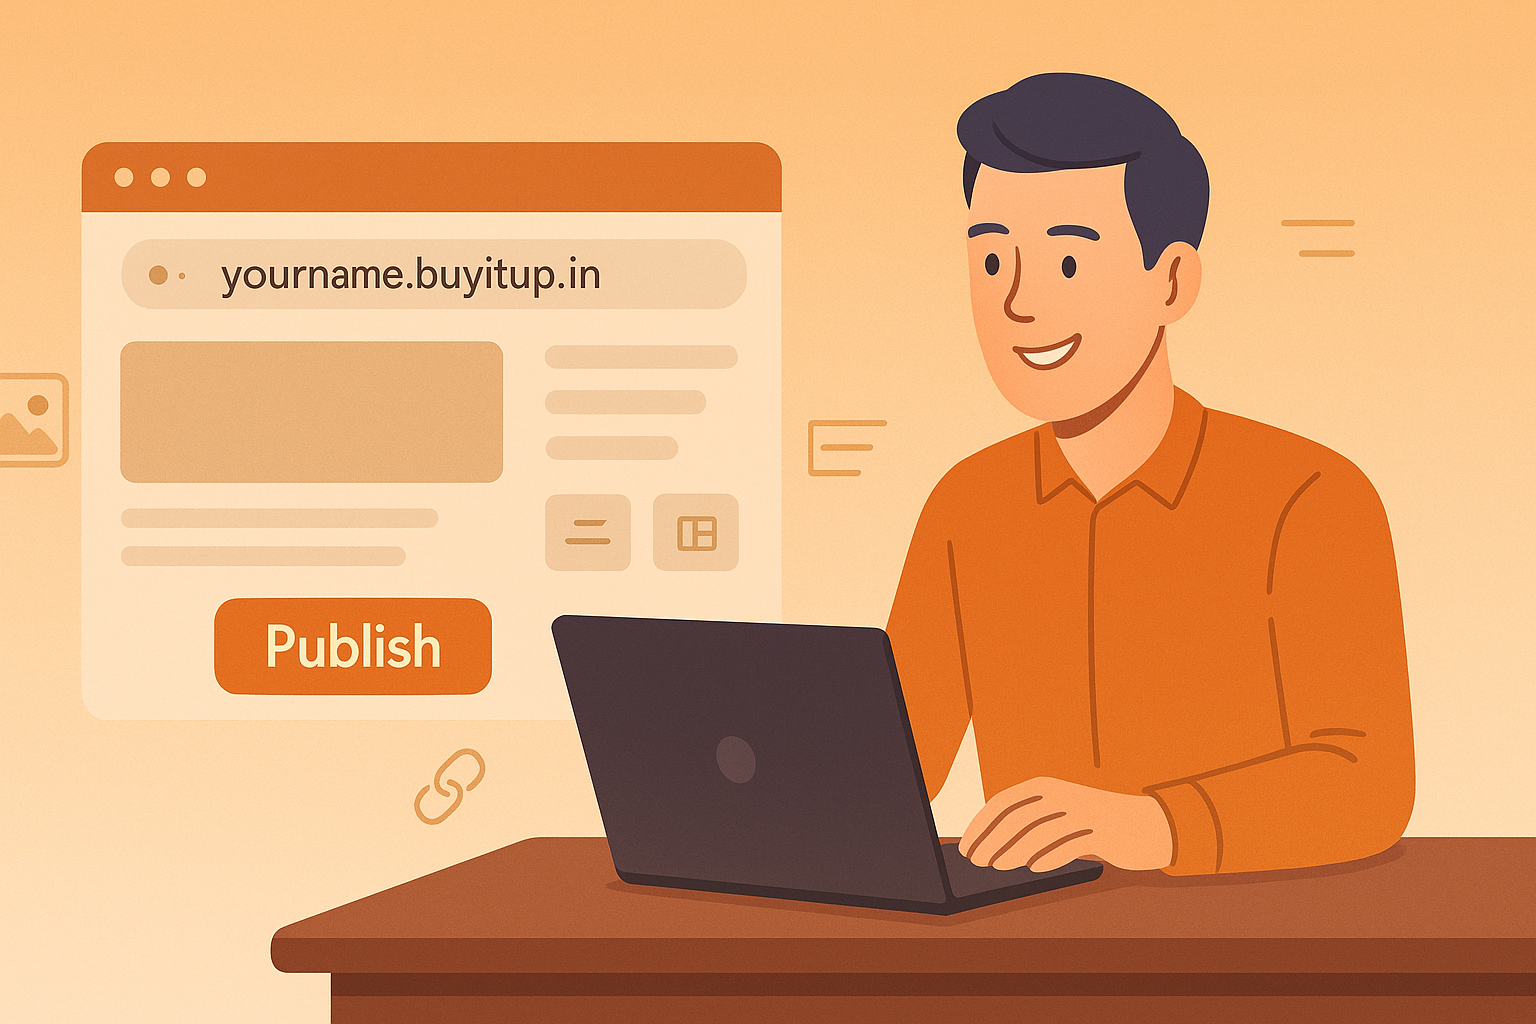
Step 2: Choose Your Subdomain Name
Your subdomain becomes your online identity.
Example formats:
yourname.buyitup.inyourbrand.buyitup.inyourbusiness.buyitup.in
✅ Tips for choosing the right name:
- Keep it simple & readable
- Use your brand or real name
- Avoid unnecessary symbols
This step replaces buying a domain + configuring DNS — BuyItUp handles that for you.
Step 3: Sign Up & Create Your Account
Once you select your subdomain:
- Complete the sign-up process
- Verify basic details
- Access your dashboard
No hosting login.
No server details.
No setup confusion.
Step 4: Select a Page Layout or Structure
BuyItUp provides ready-to-use, creator-friendly layouts.
Depending on your use case, you can build:
- A personal site
- A service page
- A portfolio
- A creator “link in bio” page
- An affiliate or tools page
The structure is already optimized — you simply fill in the content.
Step 5: Add Your Content (Simple & Fast)
You can now add:
- Your headline
- Description about what you do
- Services or offerings
- Links (Instagram, WhatsApp, Email, etc.)
- Call-to-action buttons
💡 Pro tip: Keep content clear, not long. Clarity converts better than complexity.
Step 6: Customize the Look (Optional)
You can:
- Adjust layouts
- Organize sections
- Update visuals or links
No design experience needed — everything is clean and professional by default.
Step 7: Preview Your Site
Before going live:
- Check how it looks
- Test buttons & links
- Read content once
Remember: This is v1. You can improve anytime.
Step 8: Publish & Go Live
Click publish — and that’s it.
🚀 Your site is LIVE.
You now have:
- A professional web presence
- A site you own
- A place to send traffic
- A foundation for growth
What You Can Do After Going Live
Once your site is live, you can:
- Share it on Instagram, LinkedIn, WhatsApp
- Add it to your bio
- Use it for client outreach
- Build SEO content
- Convert visitors into leads
Your site works 24/7, even when you’re offline.
Why BuyItUp Is Ideal for Beginners
BuyItUp removes common blockers:
- ✅ No hosting setup
- ✅ No coding
- ✅ No server maintenance
- ✅ No complex dashboards
- ✅ Fast publishing
You focus on growth — BuyItUp handles the infrastructure.
Common Mistake to Avoid
❌ Waiting for perfection
❌ Trying to build everything at once
❌ Overthinking design
✅ Launch first. Improve later.
Momentum beats perfection every time.
Final Thoughts
Setting up your site should feel empowering — not exhausting.
With BuyItUp.in, you can:
- Move from idea to live website quickly
- Build a professional digital identity
- Take control of your online presence
👉 Start now: https://buyitup.in/
Your site doesn’t need to be perfect.
It just needs to be live.