
Introduction
If you want your blog posts to rank on Google quickly, relying on keywords alone is no longer enough.
You need to optimize your entire content structure — headings, keywords, NLP terms, readability, intent, internal links, and more.
That’s where Surfer SEO comes in.
Surfer SEO is a powerful content optimization tool that analyzes top-ranking pages and shows you exactly what your blog needs to outrank them.
In this step-by-step guide, you’ll learn how to use Surfer SEO to write smarter, publish faster, and climb Google’s rankings.
What Is Surfer SEO?
Surfer SEO is an on-page content optimization platform that helps you:
- Create SEO-friendly blog posts
- Analyze competitors
- Improve keyword usage
- Build content outlines
- Optimize headings and paragraphs
- Score your content in real time
Think of it as having a personal SEO assistant guiding you while you write.
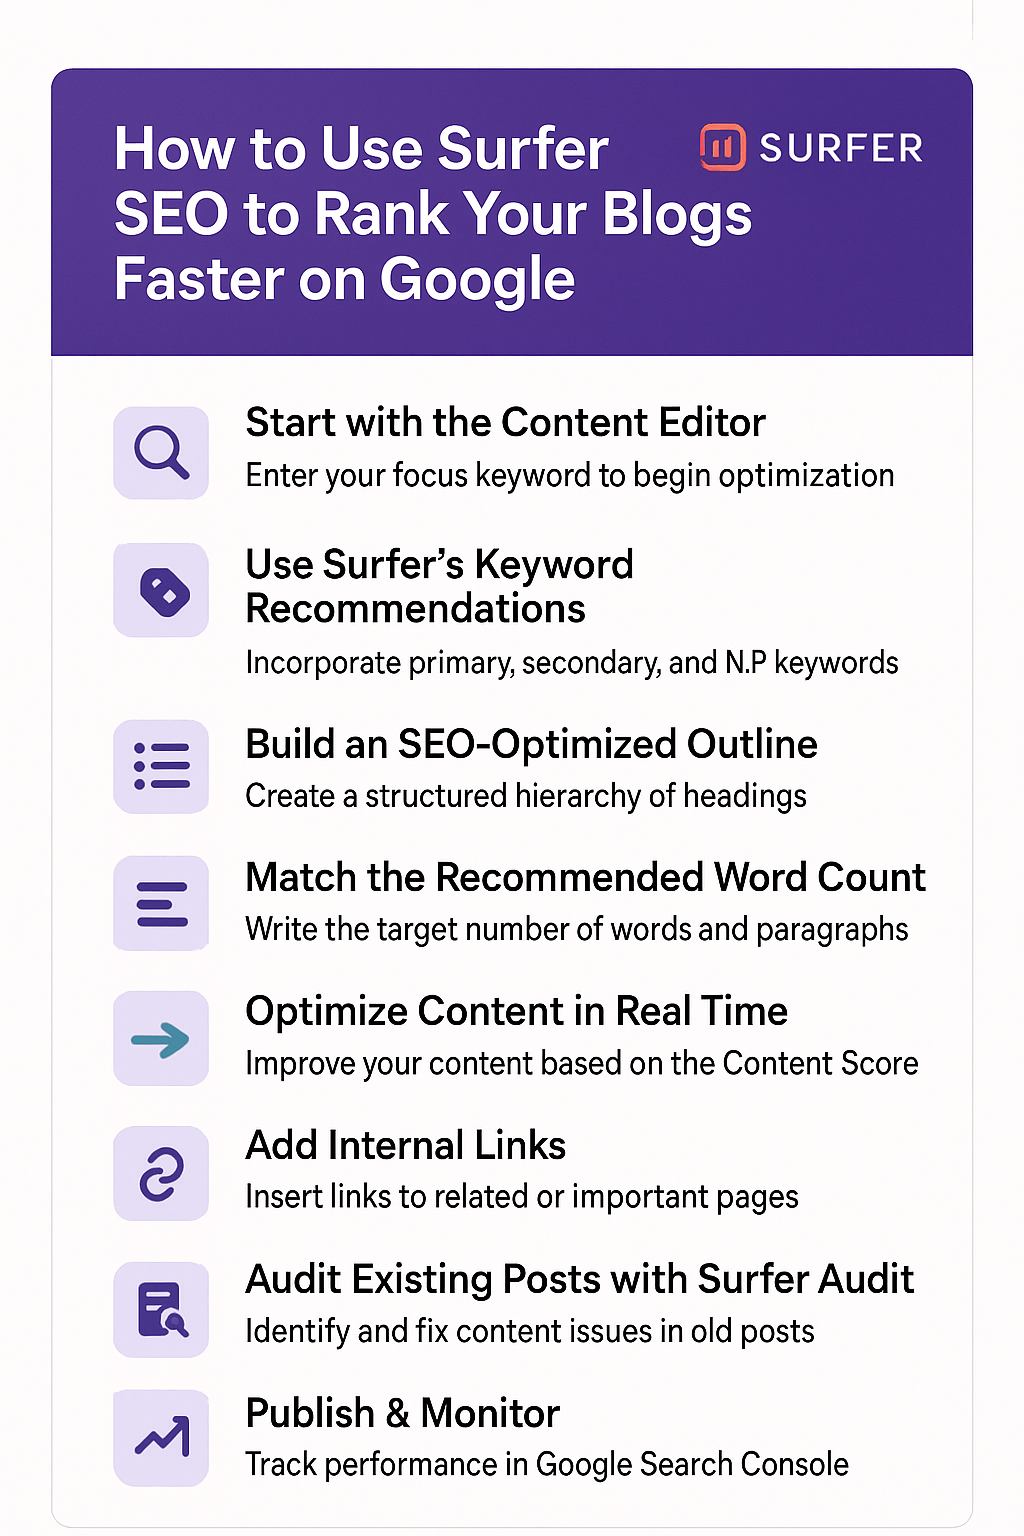
Step 1: Start with the Content Editor
The Content Editor is where the magic happens.
How to use it:
- Enter your focus keyword (e.g., best running shoes 2025).
- Surfer analyzes the top 10–20 results.
- It creates a dynamic editor with:
- Keyword suggestions
- NLP terms
- Recommended word count
- Heading suggestions
- Paragraph count
- Internal linking suggestions
This ensures your blog matches Google’s expectations based on real ranking data.
Step 2: Use Surfer’s Keyword Recommendations
Surfer shows you:
- Primary keywords
- Secondary keywords
- NLP entities
- Semantic variations
Your goal is NOT to stuff but to naturally incorporate them throughout the article.
💡 Pro tip:
Aim to hit the green bar for most keywords — it tells Google your content is complete and relevant.
Step 3: Build an SEO-Optimized Outline
Surfer helps you create a structure that matches user intent.
It suggests:
- H1 ideas
- H2 and H3 headings
- Questions from “People Also Ask”
- Topics competitors cover
Use these to create:
✔ A clean, readable outline
✔ Proper hierarchy
✔ A flow Google loves
Step 4: Match the Recommended Word Count
Surfer analyzes your competition and tells you:
- How many words you should write
- How many paragraphs
- How long each section should be
You don’t have to match it exactly — but staying within range helps your blog stay competitive.
Step 5: Optimize Content in Real Time
As you write inside the Content Editor:
- Your Content Score updates live
- Weak areas turn red or yellow
- Strong areas turn green
The higher your score, the greater the chances of ranking faster.
🎯 Aim for a score between 70–85+ for best results.
Step 6: Add Internal Links
Google loves strong internal linking.
Surfer automatically suggests internal link opportunities.
Add links to:
- Related blogs
- Pillar pages
- Product pages
- Affiliate content
This boosts crawling, authority, and engagement time.
Step 7: Audit Existing Posts with Surfer Audit
If you already have published blogs, use Surfer Audit.
It shows:
- Missing keywords
- Over/under-usage
- Low-quality headings
- Weak internal links
- Content gaps
- Word count imbalance
Fix these and you can revive old posts and improve rankings in days.
Step 8: Publish & Monitor
Once optimization is complete:
- Publish your blog
- Track rankings in Google Search Console
- Watch for improvements in clicks and impressions
- Update content monthly based on performance
Surfer helps you create content designed for long-term ranking success.
Final Thoughts
Surfer SEO is more than just a keyword tool — it’s a complete content intelligence system.
By following its recommendations, you can consistently publish blogs that:
- Rank faster
- Outperform competitors
- Attract more organic traffic
- Turn readers into subscribers or customers
If you’re serious about content growth, Surfer SEO is one of the best tools you can add to your workflow.👇
surferseo
Call to Action
Want to try Surfer SEO for your own content?
Check it out on the BuyItUp Tools page 👇