Introduction
When a new subscriber joins your email list, your welcome sequence is your first chance to make a lasting impression. It sets the tone for your brand, builds trust, and introduces your products or services naturally.
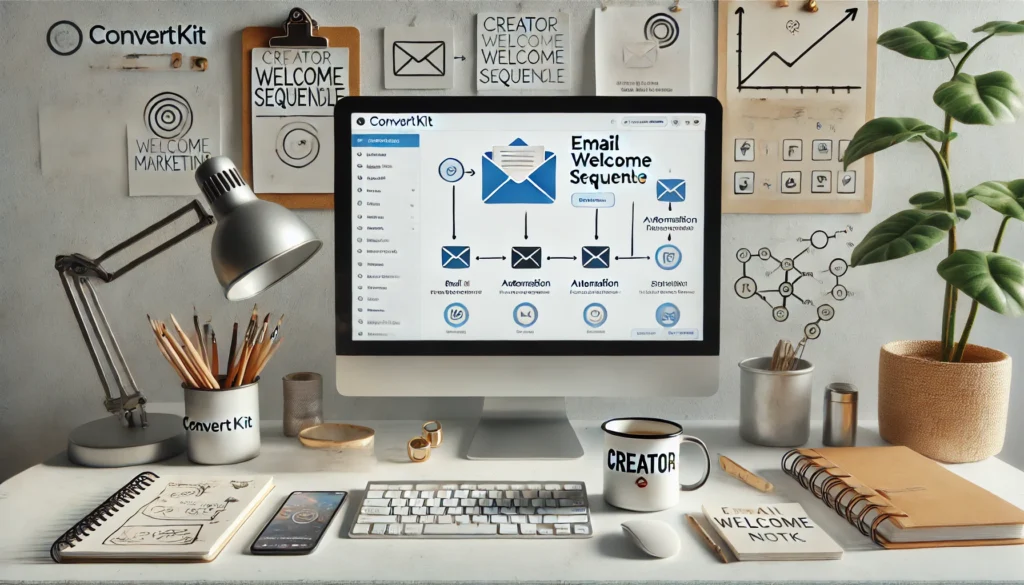
ConvertKit, built for creators and small businesses, makes it easy to automate this entire process — so you can focus on creating while your emails work in the background.
Let’s walk through how to create your first ConvertKit Welcome Sequence step by step.
Step 1: Plan Your Welcome Flow
Before you dive into ConvertKit, outline what your welcome series should achieve.
Ask yourself:
- What do I want my subscribers to do after joining?
- How many emails should I send?
- What tone fits my brand — friendly, informative, or sales-driven?
💡 Example Sequence:
- Welcome & Introduction – Thank them for subscribing and set expectations.
- Value Email – Share a useful tip, freebie, or story.
- Trust Builder – Explain your brand or share social proof.
- Soft Pitch – Introduce your product, service, or newsletter benefits.
Step 2: Create Your Sequence in ConvertKit
Now, log in to your ConvertKit dashboard and navigate to:
Automation → Sequences → “+ New Sequence”
- Name your sequence (e.g., Welcome Series for New Subscribers).
- Add 3–5 emails, each with a clear purpose.
- Set the delay between each email (e.g., 1 day apart).
🧩 Pro Tip: Keep your first email short and personal — like you’re talking to a friend. It builds connection immediately.
Step 3: Write Engaging Email Content
Your welcome sequence should be story-driven and genuine, not robotic.
Each email should:
- Start with a warm greeting.
- Offer value (like a resource or insight).
- End with a soft call to action (CTA).
📧 Example CTA ideas:
- “Check out my latest guide”
- “Reply and tell me your biggest challenge”
- “Follow me on Instagram for more tips”
Step 4: Set Up the Automation Trigger
Go to Automations → Visual Automations → + New Automation.
- Trigger: “Joins a Form” or “Gets a Tag.”
- Action: “Add to Sequence” → Select your welcome sequence.
- Optionally, tag users based on their signup source (e.g., Freebie Downloaders vs Newsletter Subscribers).
This ensures that everyone who signs up automatically receives your welcome emails without manual effort.
Step 5: Test Before You Launch
Before going live:
- Send test emails to yourself.
- Check for broken links, typos, and spacing.
- Review how it looks on mobile devices.
💡 Bonus Tip: Add a small personal touch like your name or photo in the email footer — it increases open and click rates.
Step 6: Track & Improve
ConvertKit provides detailed analytics for every email.
Monitor:
- Open rate – how many people read your emails.
- Click-through rate (CTR) – how many clicked your links.
- Unsubscribe rate – whether your tone or frequency needs tweaking.
Use these insights to refine your copy and timing for better engagement.
Final Thoughts
Your first welcome sequence is the foundation of your email marketing strategy. It builds trust, nurtures leads, and gently moves subscribers toward your goals — all on autopilot.
With ConvertKit, you can set it up once and let it run while you focus on growing your business.
Call to Action
Start your first welcome sequence today with ConvertKit:
🔗 Try ConvertKit – Creator-Focused Email Marketing